Welcome friends! Today I’ll be sharing a card using the Gnome Garden stamp and die sets – but with a holiday twist!
I wanted to take this set (that was originally a spring release) and make it a little more “Santa’s elves” and less “Garden Gnome”. It was super easy to do!
I started by creating a blended background. I then stamped and colored the gnome but focused on using more traditional Christmas colors for his outfit and trimming of the flowers that were originally in his wheelbarrow.
Now to search for some gift stamps – they are easy to find in many Newton’s Nook sets. I left the larger gift (from the Newton’s Stocking set) on the ground and then used the smaller gifts (from left to right they came from the Prehistoric Christmas, Fetching Friendship and Christmas Pheasant stamp sets).
After all of my images were stamped, colored and die cut, I strategically arranged the gifts in the wheelbarrow to cover the top and any remaining flowers that were remaining and then attached to the card front.
I finished with a sentiment from Snow Much Cheer and a few snowflakes from the same set.
Finally, I want to thank everyone at Newton’s Nook Designs for such an amazing experience as part of this team. Sadly, this will be my last official post but I’m sure you will continue to see posts featuring Newton and his friends here in the future!
Hi friends! I’m so excited to join in the fun for the 9th annual Deck the Halls with Inky Paws blog hop!!
As the temperatures here in Ohio continue to fall, it has me missing warm weather and the beach so I decided to pull out my Festive Flamingo set for this card:
I started by creating a background using the Retro Sun & Palms stencil set. Instead of using the sun portion of the stencil in the traditional way, I tilted it and ink blended over it twice for a fun look. And since I was already going non-traditional, I decided to use glitter gel for the palm trees!
Since my background was already pink, I didn’t even need to color in the flamingos. I just used Copic markers to add red on all of their accessories. I finished with a sentiment along the bottom.
This card would be easy to make assembly line style and since the coloring is limited would be a little quicker.
Enter to Win! Deck the Halls with Inky Paws Hop Prizes!
We will be choosing two lucky winners to win a $25 store credit for Newton’s Nook Designs online shop! To enter, just leave comments on the Design Team Member and Guest blogs (see list below)! Two winners will be chosen at random from the collective blogs in the blog hop. Make sure to check out each of their blogs and comment for your chance to win. You will not know which blog has been chosen so the more you comment on the better your chances are of winning! You have until Sunday, December 5th at 9 pm EST to comment — winners will be announced on the NND blog on Monday, December 6th.
If you’re getting tired of the same color schemes and sentiments on all of your Christmas cards, how about some ideas of using products in non-traditional ways to create those final Christmas cards?
I started with a traditional background stamp (this is the Pinecone Background stamp from Simon Says Stamp) but chose a very non-traditional color to stamp it in – find a fun, bright color ink in your stash.
After stamping the background, I trimmed the panel down to 3 3/4″ x 5″ and attached to a white card base.
Now to add a non-traditional sentiment! It doesn’t have to be holiday specific to fit – like this Best Day Ever die (also from Simon Says Stamp). I cut it three times from black cardstock and used liquid glue to attach them for dimension. I then added the shadow layer cut from vellum and attached to my card front.
I finished it off with just a little bit of bling for the holiday sparkle!
Now go raid your stash for some fun non-holiday products to use on those final cards!
Hello friends and welcome back to Day 3 of the Newton’s Nook November release!
All new products for this release will be available for purchase on Thursday, November 18th!
I have so much to share today! My first project uses the new Snow Angel Newton stamp set and coordinating dies:
I started with the purple heart background paper from the new Coffee House Stories paper pad for my background. I create a little “snowbank” for Newton with a circle die from the Circle Frames Die Set and attached it to the background with foam adhesive.
I also added a few pale purple snowflakes and a sentiment all from the same stamp set.
I stamped, colored and cut the Newton image and attached it to the circle die cut using an Action Wobbler to give the card some added fun!
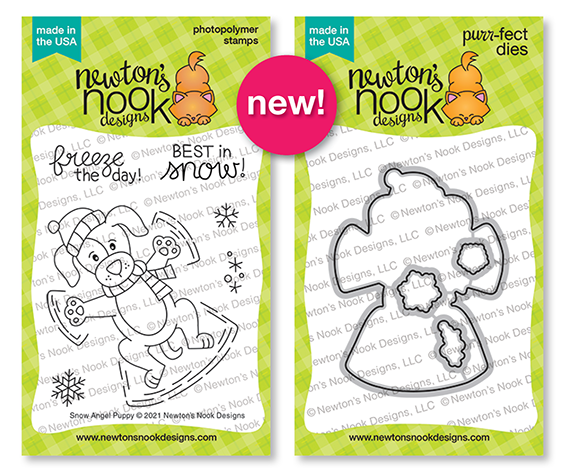
Next up is the match to my first card but this time using the new Snow Angel Puppy stamp set and coordinating dies:
It was fun to think up slight changes to my first card design that made this card turn out so differently.
I decided to use a classic red and green color combination for this card and switched from the circle die to layering rectangular shapes from the Frames and Flags Die Set:
I still added some snowflakes to the background (this time in a pale blue) and a sentiment in the bottom corner.
I attached the puppy with foam adhesive rather than an Action Wobbler which still gives a fun dimensional effect!
My last card for this release might just be my favorite and it uses the new Roll With It stamp set:
I knew I wanted to play off of the curved design of this stamp so after stamping and coloring the image on a white panel, I cut the top using a die from the Land Borders Die Set.
I ink blended along the top of my card front using Distress Oxide Inks and then added the die cut panel using foam adhesive on top giving the card the look of a winter hillside!
Would you like to win the “Snow Angel Newton ” or the “Snow Angel Puppy” Stamp Set? We will choose ONE lucky winner for each stamp set!
Here’s how to win: Comment on the NND blog and Design Team blogs (see list below)! The winner will be chosen at random from the collective reveal posts. Make sure to check out each of their blogs and comment for your chance to win. You will not know which blog has been chosen so the more you comment on the better your chances are of winning! You have until Wednesday November 17th at 9pm ET to comment — winners will be announced on the blog post on Thursday, November 18th.
Check out all the awesome Design Team Blogs below to enter:
Hello friends and welcome to Day 2 of the Newton’s Nook November release!
All new products for this release will be available for purchase on Thursday, November 18th!
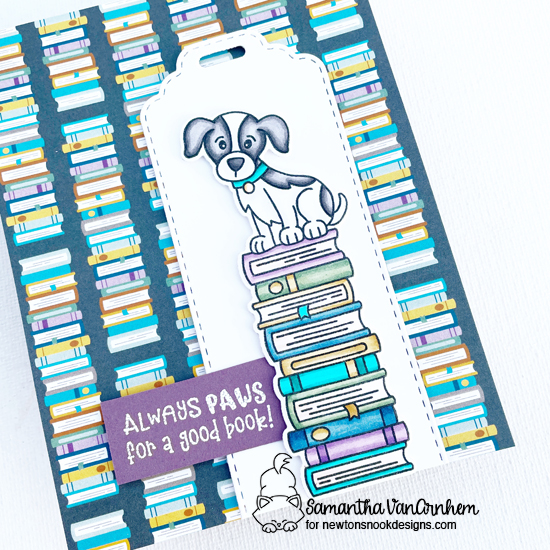
Today’s project uses the new All Booked Up stamp set and coordinating dies:
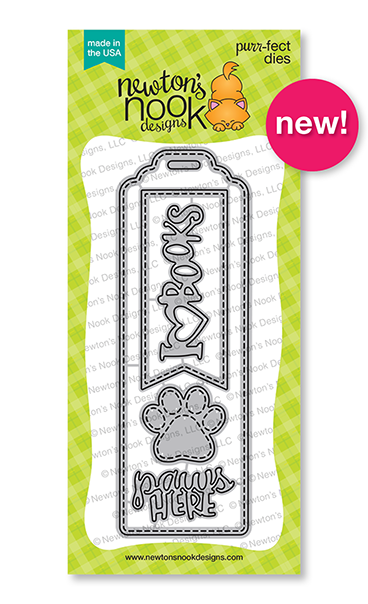
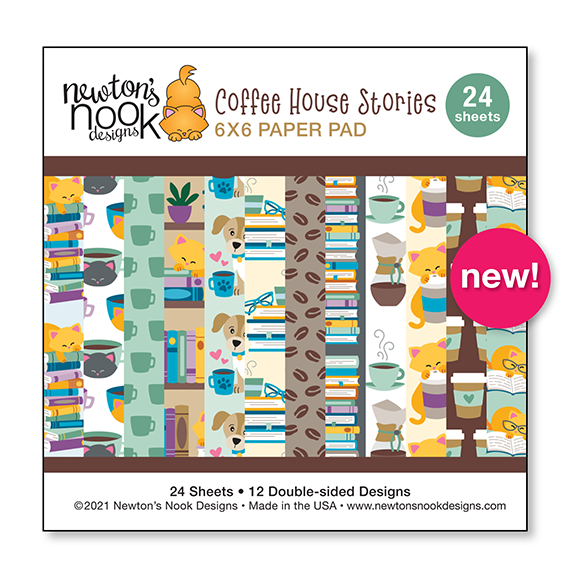
I also used the new Bookmark die and the Coffee House Stories paper pad:
I absolutely knew I wanted to use the paper that was all stacks of books for my background (it’s my favorite design from this pad):
Normally I would use a basic circle or square shape to create a home for my image but the bookmark die was perfect! I did trim it a bit shorter to fit the stamped and colored image.
I finished the card with an embossed sentiment from the same set. I would normally have added a bit of ribbon to the top of the bookmark but we were in the midst of moving and the box where all the ribbon lives hasn’t surfaced yet! I may still try to add it in later.
Would you like to win the “All Booked Up” Stamp Set? This stamp set will be given away to ONE lucky winner!
Here’s how to win: Comment on the NND blog and Design Team blogs (see list below)! The winner will be chosen at random from the collective reveal posts. Make sure to check out each of their blogs and comment for your chance to win. You will not know which blog has been chosen so the more you comment on the better your chances are of winning! You have until Wednesday November 17th at 9pm ET to comment — winners will be announced on the blog post on Thursday, November 18th.
Check out all the awesome Design Team Blogs below to enter:
Hello friends and welcome to Day 1 of the Newton’s Nook November release!
All new products for this release will be available for purchase on Thursday, November 18th!
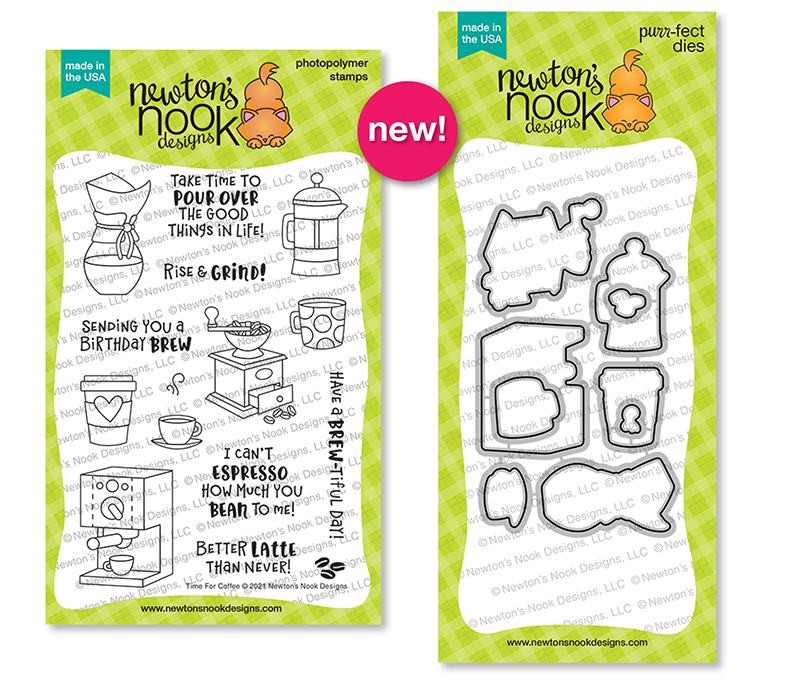
My first project uses the new Time for Coffee stamp set and coordinating dies:
I also used the new Coffee House Stories paper pad:
I have to admit that I’m not a coffee drinker so I had to do a little searching to figure out what some of the images were in this set!
I knew I wanted to create a “row” of images for the focal point of my card so I started by stamping, coloring and die cutting all of them to start playing around with a layout.
I ended up with five of the images (odd numbers!) and then used the super cute coffee bean paper as a base for them to sit on. I also added a small strip of the striped paper at the top.
I added the two largest images by gluing them directly onto the card base. The three smaller images where added with foam adhesive for dimension.
I finished this card with an embossed sentiment from the set. Now I’m all set for a coffee loving friend’s birthday!
Would you like to win the “Time for Coffee” Stamp Set? This stamp set will be given away to ONE lucky winner!
Here’s how to win: Comment on the NND blog and Design Team blogs (see list below)! The winner will be chosen at random from the collective reveal posts. Make sure to check out each of their blogs and comment for your chance to win. You will not know which blog has been chosen so the more you comment on the better your chances are of winning! You have until Wednesday November 17th at 9pm ET to comment — winners will be announced on the blog post on Thursday, November 18th.
Check out all the awesome Design Team Blogs below to enter:
Hello friends and welcome to Day 4 of the Newton’s Nook holiday release!
All new products for this release will be available for purchase on Friday October 15th!
My first project uses the new Prehistoric Christmas stamp set and coordinating dies:
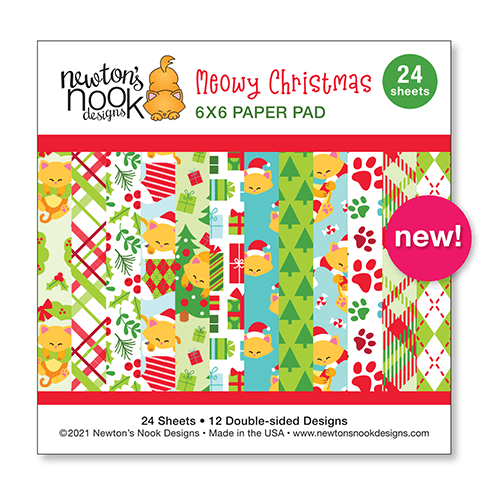
I also used paper from the new Meowy Christmas paper pad:
Now I will admit dinosaurs are not really my thing, but this ended up being one of my favorite cards of this release!
I mean Veloci wrapper – how can you not love it!?
Since we’re talking about gift wrapping, I started with the paper from the Meowy Christmas pad that is covered in presents:
After I colored and die cut the image, I added it to a tag from the Fancy Edges Tag Die Set using foam adhesive. I added the sentiment right below the image.
I then simply added the tag to the card base using foam adhesive and it was done!
My next project uses the Christmas Pheasant stamp and die set – the puns just keep coming and I love them!
Since I already had my tag die out, I used it again to cut a tag from the red polka dot patterned paper and plain white cardstock.
I also cut a circle from the center of the red polka dot tag using a die from the Circle Frames Die Set:
After I attached the two tags together I added the colored and die cut pheasant using foam adhesive and tucked the sentiment in the empty space of the circle.
We are in the process of moving and I had packed away all of my ribbon and twine (oops!) so I just cut a very thin sliver of cardstock and fed it though the hole. I actually really liked the look of it and may do that again!
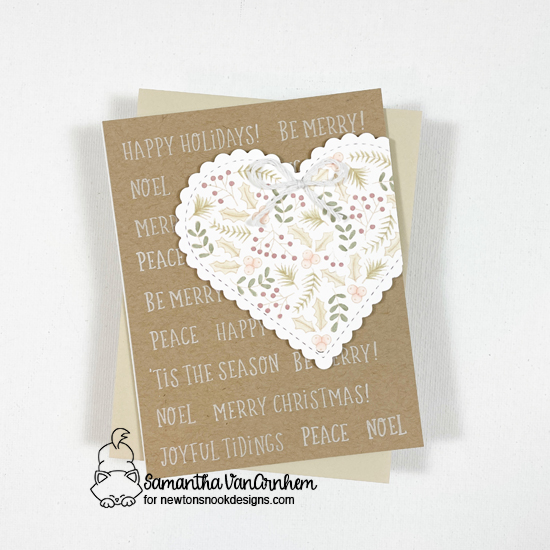
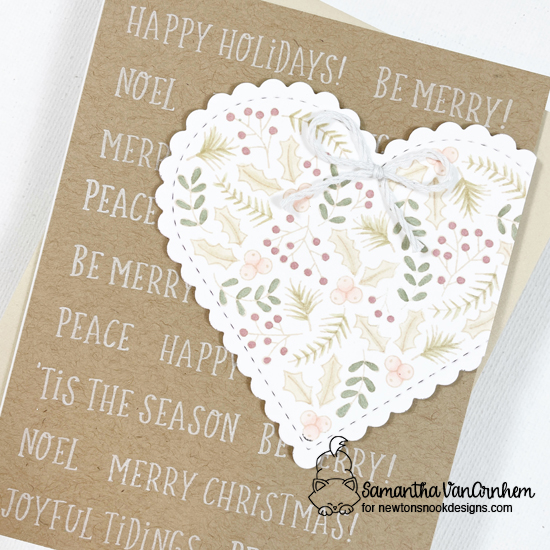
My last card for this release uses the Heartfelt Holidays set along with the coordinating Heart Frames Die Set:
I took a break from the bright and colorful and decided to use more subtle and neutral tones for this card. I stamped the image with a tan ink and selected different shades of sage green and peach to color it with.
I then cut the image out with the scalloped heart from the Heart Frames Die Set.
I was trying to think of something different to do with the sentiments from this set so I decided to create a bit of a word art background with them using kraft cardstock and white pigment ink. Definitely something I will try again!
Would you like to win the “Prehistoric Christmas” or the “Heartfelt Holidays” Stamp Set? We will choose ONE lucky winner for each stamp set!
Here’s how to win: Comment on the NND blog and Design Team blogs (see list below)! The winner will be chosen at random from the collective reveal posts. Make sure to check out each of their blogs and comment for your chance to win. You will not know which blog has been chosen so the more you comment on the better your chances are of winning! You have until Thursday October 14th at 9pm ET to comment — winners will be announced on the blog post on Friday, October 15th.
Check out all the awesome Design Team Blogs below to enter:
Hello friends and welcome to Day 3 of the Newton’s Nook holiday release!
All new products for this release will be available for purchase on Friday October 15th!
My first project uses the new Christmas Cocktails stamp set and coordinating dies:
This one also brings in paper from the new Meowy Christmas paper pad:
I may (or may not) have chosen my three favorite cocktails to use on this card! I kind of imaged them sitting together during a holiday party having been set down on a festive table cloth – do you see it?
I decided to use one of the tone on tone papers to brighten up the background rather than just leaving it white. I then added a rectangle from the Frames and Flags Die Set. I cut a piece of the holly and sprigs paper from the same shape but trimmed it down to a little less than half it’s size. This way it still has the stitched detail along the edges.
I had cut a red scalloped rectangle from the same set two with the plans of layering them but it was a little too much red for me so instead I just trimmed an edge to tuck behind one side. Just the right amount of red!
Next up is Dairy Christmas and if there was a set in this release that demanded a scene – this was it!
I started by lightly blending pale blue ink along the top of the card and adding some snowflakes from the Holiday Home set to the sky. I cut solid white cardstock using the Land Borders Die Set to add along the bottom and tucked a fence cut from the Fence Die Set under it.
All the scene needed was our colored and die cut animal images and the perfectly punny sentiment centered right along the bottom!
Would you like to win the “Christmas Cocktails” or the “Dairy Christmas” Stamp Set? We will choose ONE lucky winner for each stamp set!
Here’s how to win: Comment on the NND blog and Design Team blogs (see list below)! The winner will be chosen at random from the collective reveal posts. Make sure to check out each of their blogs and comment for your chance to win. You will not know which blog has been chosen so the more you comment on the better your chances are of winning! You have until Thursday October 14th at 9pm ET to comment — winners will be announced on the blog post on Friday, October 15th.
Check out all the awesome Design Team Blogs below to enter:
Hello friends and welcome to Day 2 of the Newton’s Nook holiday release!
All new products for this release will be available for purchase on Friday October 15th!
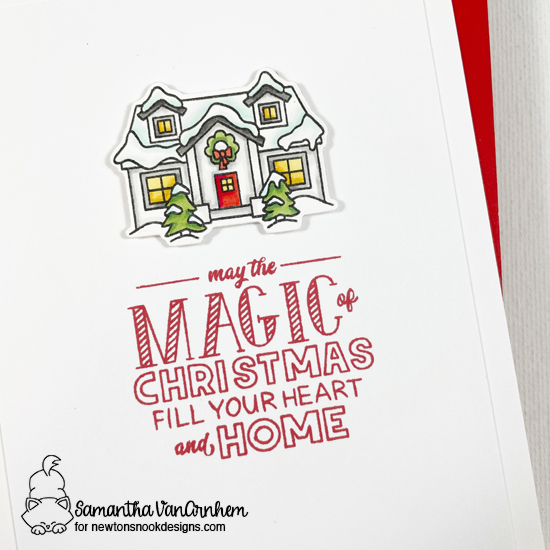
My first project uses the new Holiday Home stamp set and coordinating dies:
This is one of those sets that I knew immediately what I wanted to do with it! That little house is my favorite image and I knew I wanted to pair it up with with one of the large sentiments:
I wanted the color scheme to focus on red and white so I used light gray markers for the majority of the image with a bit a green for the trees and wreath. Obviously, the door needed to be red!
I then cut the image out with the coordinating die and added it to the card front with foam adhesive.
I finished by using red ink to add the sentiment. This would be a really simple card to mass produce!
Next up is Christmas Cactus:
I used three images to create a fuller look on my card – they are very quick to color.
I wanted them to look they were coming out of something so I cut a square from a 4″x5.25″ piece of cardstock using the Frames Squared Die Set and layered them behind the top. I then attached to a card base (I used liquid glue but you could also use foam for more dimension).
To finish I added a sentiment from the same set with a coordinating pink ink.
Would you like to win the “Holiday Home” or the “Christmas Cactus” Stamp Set? We will choose ONE lucky winner for each stamp set!
Here’s how to win: Comment on the NND blog and Design Team blogs (see list below)! The winner will be chosen at random from the collective reveal posts. Make sure to check out each of their blogs and comment for your chance to win. You will not know which blog has been chosen so the more you comment on the better your chances are of winning! You have until Thursday October 14th at 9pm ET to comment — winners will be announced on the blog post on Friday, October 15th.
Check out all the awesome Design Team Blogs below to enter:
Hello friends and welcome to Day 1 of the Newton’s Nook holiday release!
All new products for this release will be available for purchase on Friday October 15th!
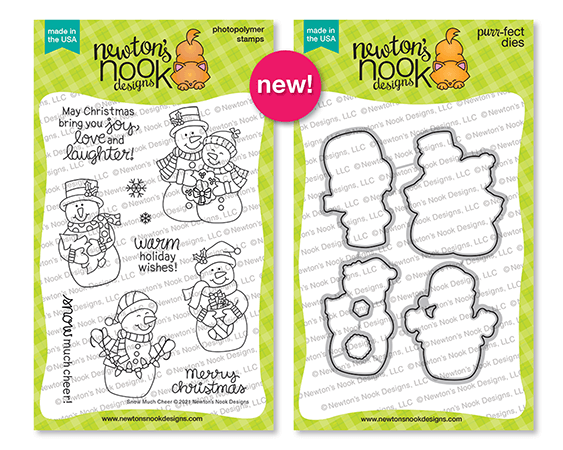
My first project uses the new Snow Much Cheer stamp set and coordinating dies along with an exciting new addition to the product line at Newton’s Nook Designs – the Meowy Christmas 6×6 paper pad!
Some of my favorite patterns from the new paper release are the tone on tone patterns – they are so versatile! I started by trimming down a sheet of the red checked paper to the size of an A2 card and used the Heart Frames Die Set to cut a heart from the center.
I added a very light blending of blue ink near the top of a white card base and then adhered the patterned paper on top.
I then got to work coloring and die cutting the snow couple image – seemed like the right choice to add onto the heart shaped window.
To finish this card I added a sentiment from the same set on the other side of the heart and filled in the remainder of the white heart with snowflakes.
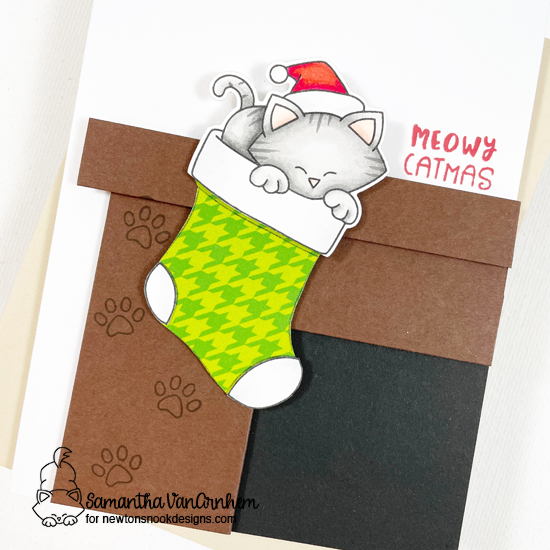
Next up is the adorable Newton’s Stocking set:
My goal was to create a mantle scene as a home for this sweet image. It’s really just a series of strategically cut squares and rectangles:
I also wanted to try using the new patterned paper to paper piece the stocking. I started by stamping the image on white cardstock and coloring the cat portion of the image. I then stamped onto the green houndstooth paper and trimmed the stocking portion out by hand. I then added the white toe and heal patches, along with Newton on top.
I added the completed stocking to my mantel and finished with a sentiment and the telltale paw prints leading up to the stocking!
Would you like to win the “Snow Much Cheer” or the “Newton’s Stocking” Stamp Set? We will choose ONE lucky winner for each stamp set!
Here’s how to win: Comment on the NND blog and Design Team blogs (see list below)! The winner will be chosen at random from the collective reveal posts. Make sure to check out each of their blogs and comment for your chance to win. You will not know which blog has been chosen so the more you comment on the better your chances are of winning! You have until Thursday October 14th at 9pm ET to comment — winners will be announced on the blog post on Friday, October 15th.
Check out all the awesome Design Team Blogs below to enter: